
Svelte从入门到精通——节点引用
发表于 阅读时长6分钟
目录
即使当今的主流开发模式提倡的是数据驱动视图,然而我们仍旧无法完全摆脱对dom的操作,我们也不能摆脱。这里笔者可以随便举几个例子:input输入框的focus和blur方法的触发、使用<input type="file" />来自定义实现上传时的手动click等。
无论是在React还是在Vue中,都有提供对dom的引用的api操作,而这种对dom的引用通常称为Ref。那在Svelte中,我们要如何拿到我们的Ref呢?
bind:this
在《数据与方法》一章,我们在使用双向绑定功能时,用到了bind:value={value}的方式。而如果想要访问真实的dom,同样需要使用到bind。
bind:this={dom_node}
dom
我们看一个例子:
<script>
  let dialogDom;
  let dialogRef;

  const open1 = () => {
    dialogDom = document.querySelector('dialog');
    console.log('dom', [dialogDom]);
    if (dialogDom) {
      dialogDom.showModal();
    }
  }

  const open2 = () => {
    console.log('ref', [dialogRef]);
    if (dialogRef) {
      dialogRef.showModal();
    }
  }

  const close = () => {
    dialogDom && dialogDom.close();
    dialogRef && dialogRef.close();
  }
</script>

<button on:click={open1}>打开1</button>
<button on:click={open2}>打开2</button>
<dialog bind:this={dialogRef}>
  dialog content <span on:click={close}>close</span>
</dialog>
笔者用两种方式实现了打开dialog的逻辑。open1使用原生dom来操作,open2使用到了bind:this。这里笔者将bind:this绑定到正常的html标签dialog上,然后我们能够看到,通过bind:this得到的数据和使用原声dom api操作得到的数据并无差异。
组件
bind:this除了能够绑定html标签上,也能够绑定到组件上。
export
在某些特定场合下,我们可能希望直接操作子组件内的数据和方法。
假设我们有一个子组件:
<script>
  let data = '测试bind:this数据';

  const func = () => {
    console.log('测试bind:this方法');
  }
</script>
此时我们外部引用这个组件,并打印出这个组件的实例
<script>
  import Child from './Child.svelte';

  let ref;

  $: console.log('ref', ref);
</script>

<Child bind:this={ref} />
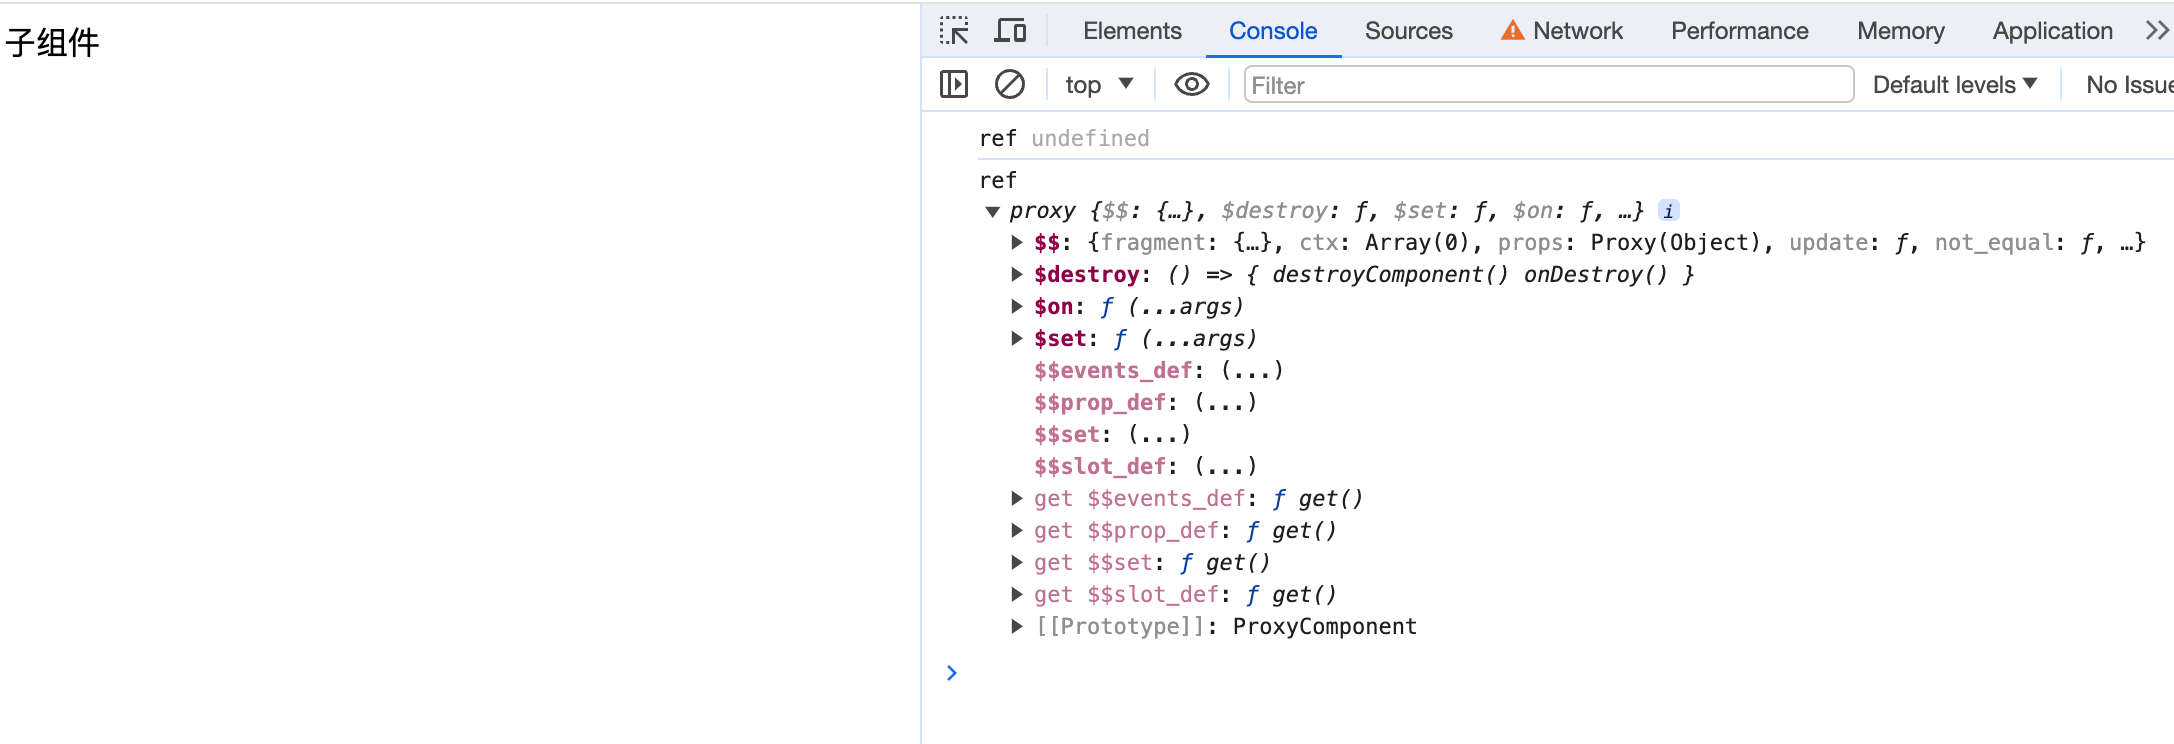 此时我们并不能拿到子组件的数据和方法。要想拿到子组件的数据和方法,我们需要使用到
export。
<script>
  export let data = '测试bind:this数据';

  export const func = () => {
    console.log('测试bind:this方法');
  }
</script>
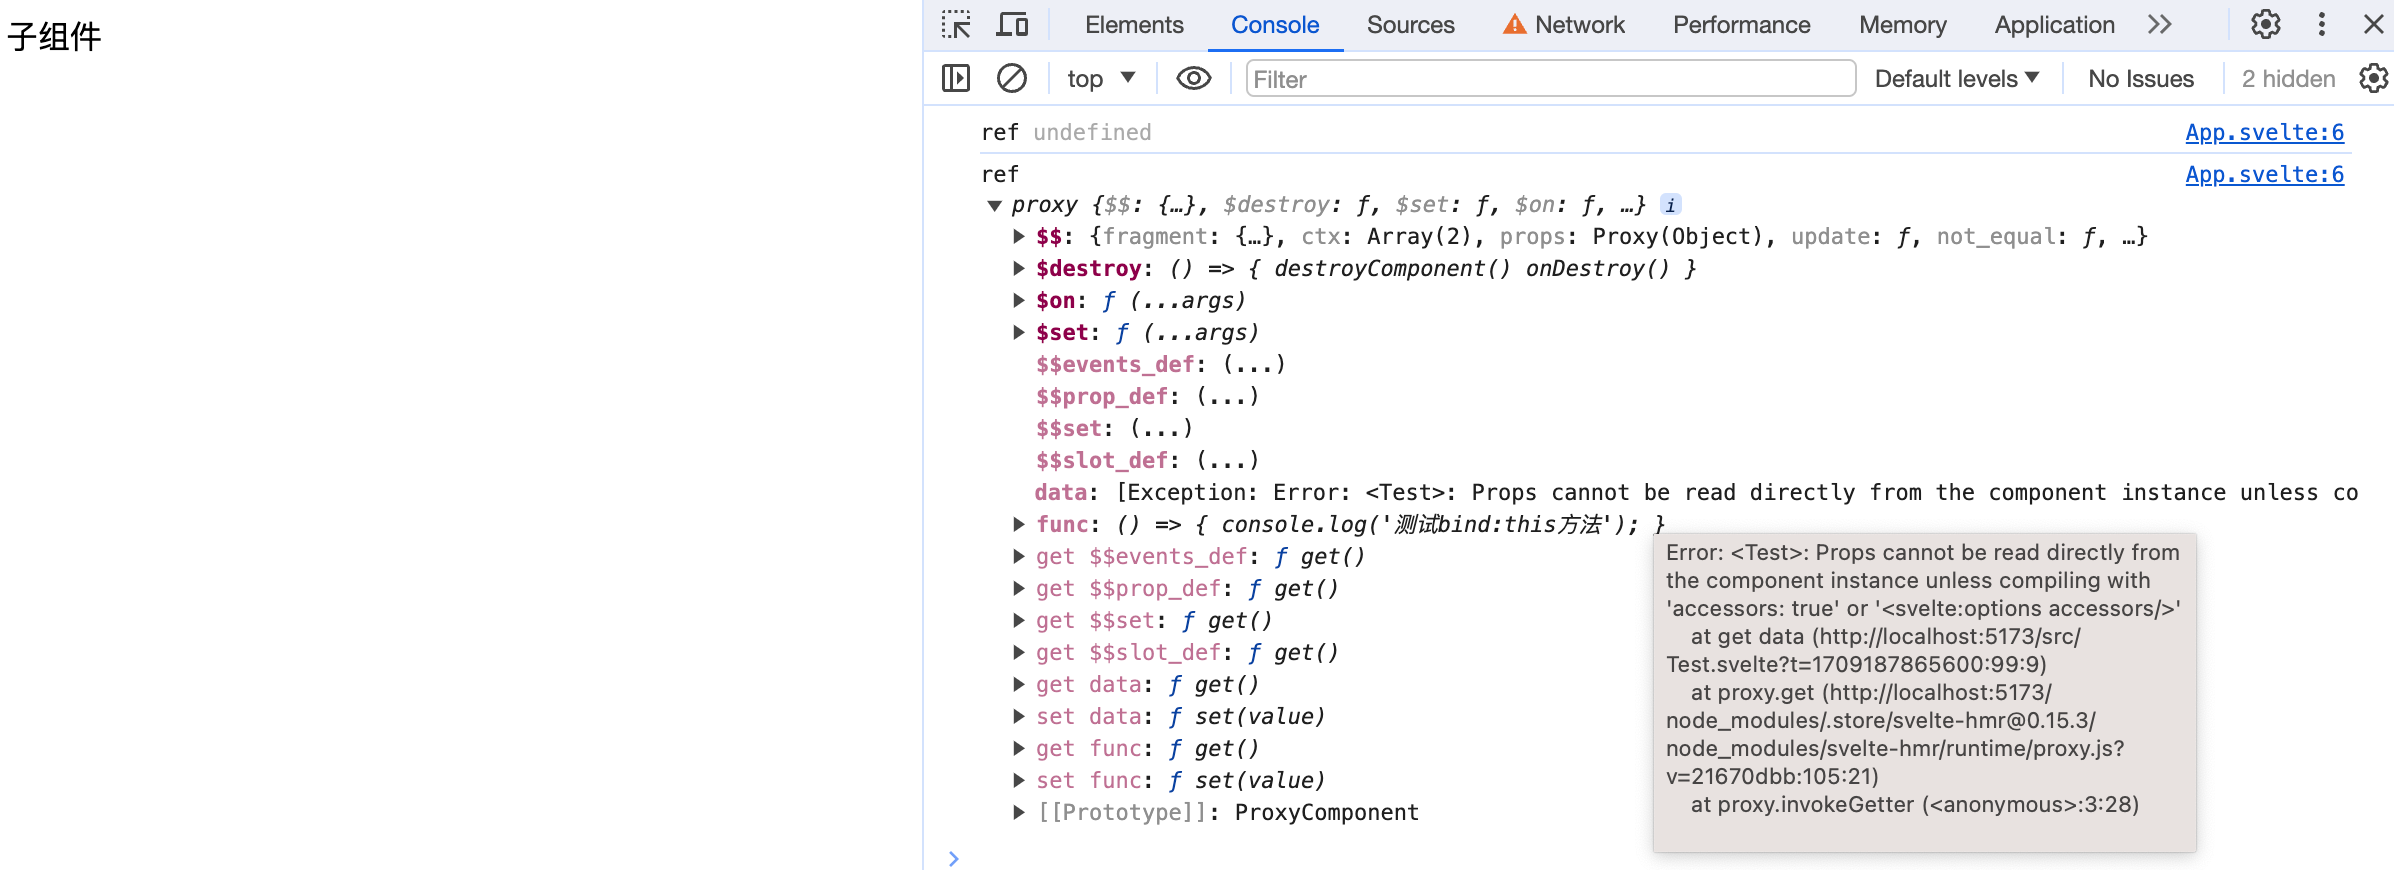 我们可以看到,数据与方法都正常导出了。然而因为使用了
export,原来的数据变成了一个prop属性,Svelte并不允许我们直接拿到这个属性。我们要么在<svelte:options>中做一些配置,要么就是我们在子组件内定义一个专门取数据的方法。
<script>
// Child.svelte
  export let data = '测试bind:this数据';

  export const func = () => {
    console.log('测试bind:this方法');
  }

  export const getData = () => {
    return data;
  }
</script>
<script>
  import Child from './Child.svelte';

  let ref;

  $: console.log('ref', ref);

  $: {
    if (ref) {
      let data = ref.getData();
      console.log('数据拿到了吗:', data);
    }
  }
</script>

<Child bind:this={ref} data={'98765'} />

我们以真实场景来举个例子。
我们封装了一个倒计时组件,倒计时内部有启动倒计时的功能。而何时触发倒计时则由外部引用的页面决定:
<script>
  // Countdown.svelte
  import { onDestroy, createEventDispatcher } from 'svelte';

  const dispatch = createEventDispatcher();

  export let countdown = 60;
  export let unit = 's';

  let timer = null;

  const clearTimer = () => {
    timer && clearInterval(timer);
  }

  const initTimer = () => {
    clearTimer();
    timer = window.setInterval(() => {
        countdown--;
        if (countdown < 1) {
          clearTimer();
          end();
        }
      }, 1000);
  }

  const end = () => {
    dispatch('end');
  }

  export const start = () => {
    initTimer();
  }

  onDestroy(() => {
    clearTimer();
  })
</script>

<span>{ countdown }{ unit }</span>
首先我们实现了一个Countdown组件,这个组件对外暴露了一个start方法,方便外层手动控制计时器的开始。
<script>
  import Countdown from "./Countdown.svelte";

  let ref;

  const onCountdownEnd = () => {
    console.log("倒计时结束!");
  };

  const onCountdownStart = () => {
    if (ref) {
      ref.start();
    }
  };
</script>

<Countdown bind:this={ref} countdown={10} on:end={onCountdownEnd} />
<button on:click={onCountdownStart}>开始倒计时</button>
外层bind:this绑定到Countdown组件,在点击按钮时,调用倒计时组件实例的start方法。
数组
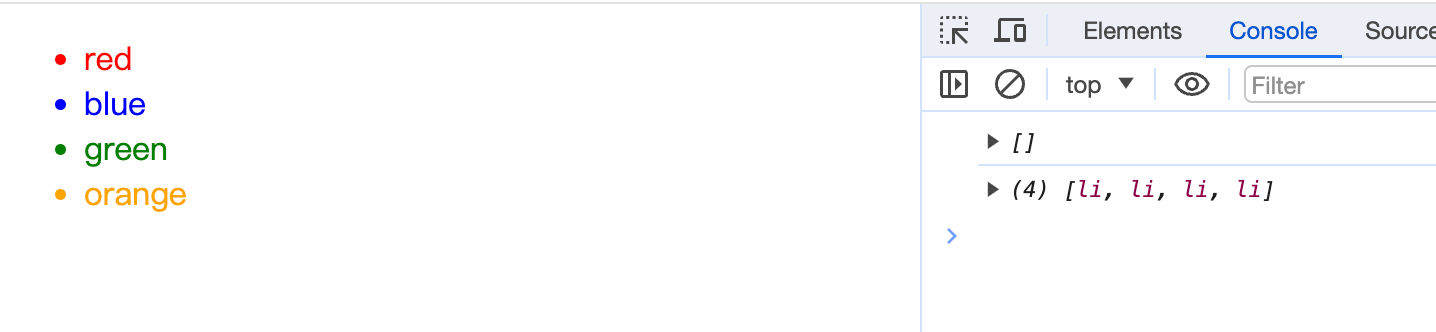
当我们想在{#each}中使用bind:this时,使用数组来存储绑定的值。
<script>
  let arr = ['red', 'blue', 'green', 'orange']
  let refArr = [];

  $: {
    console.log(refArr);
    refArr.forEach(li => {
      li.setAttribute('style', `color: ${li.innerText};`)
    })
  }
</script>

<ul>
{#each arr as item, index}
  <li bind:this={refArr[index]}>{item}</li>
{/each}
</ul>
小结
本章我们学习了:
- 使用
bind:this绑定到html标签,用来获取真实DOM节点 - 使用
bind:this绑定到组件上,用来获取组件实例 - 组件如何对外暴露自身方法
- 在循环列表中使用
bind:this