
Svelte从入门到精通——基本流程
发表于 阅读时长7分钟
目录
我们在源码阶段已经初步了解了Svelte的整体运作流程,从这一章开始,笔者将和读者朋友们一起,自己动手实现一个简化版的Svelte,在实现完后,读者朋友们可以和源码篇一起阅读相辅相成,进一步夯实自己对Svelte的理解。
npm create vite@latest
选择vanilla js,即原生js。
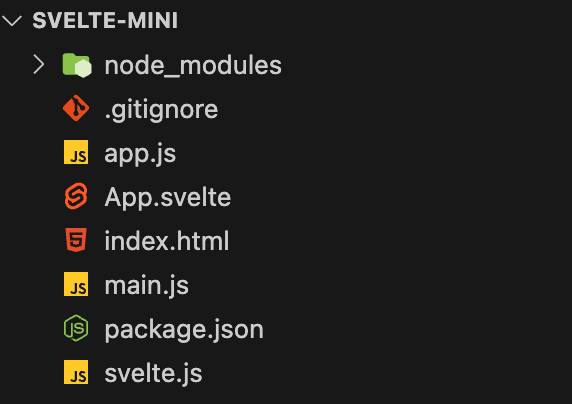
目录结构
基本目录结构:
- app.js:我们最终经过compiler解析后得到的内容。
- main.js:引用app.js并挂载到dom上。
- svelte.js:我们要实现的Svelte的全部逻辑。
- App.svelte:svelte文件内容。
- index.html:浏览器访问页面
index.html的内容如下:
<!doctype html>
<html lang="en">
  <head>
    <meta charset="UTF-8" />
    <link rel="icon" type="image/svg+xml" href="/vite.svg" />
    <meta name="viewport" content="width=device-width, initial-scale=1.0" />
    <title>Vite App</title>
  </head>
  <body>
    <div id="root"></div>
    <script type="module" src="/main.js"></script>
  </body>
</html>
现在各个js文件的内容都为空,使用npm run dev,只能看到一片空白。
我们的最终目的是实现一个简化版的Svelte,这个Svelte能够解析基本的html标签,能够绑定事件,能够实现ifblock的逻辑。
main.js文件内容如下:
// main.js
import App from './app';

App().create(document.querySelector('#root'));
流程
基本流程是:
- svelte.js中读取App.svelte的内容,使用acron解析成ast,将ast转义成浏览器能执行的js,导出到app.js。
- main.js引用app.js并执行。
- index.html引用main.js。
app.js导出一个默认方法。
// app.js
export default function() {}
所有js文件使用esm的导入导出形式。在svelte.js中,我们创建如下代码:
// svelte.js
import * as fs from "fs"
import { fileURLToPath } from "url"
import { dirname, resolve } from "path"

const modulePath = dirname(fileURLToPath(import.meta.url))

function bootstrap(){
  try {
    const inputPath = resolve(modulePath, "./App.svelte");
    const outputPath = resolve(modulePath, "./app.js");
    const content = fs.readFileSync(inputPath, "utf-8");
    fs.writeFileSync(outputPath, compile(content), "utf-8")
  } catch (e) {
    console.error(e);
  }
}

function compile(content) {
  return `
    export default function() {}
  `;
}

bootstrap();
在esm模块中,我们使用dirname(fileURLToPath(import.meta.url))来代替__dirname。
首先我们定义了文件输入路径inputPut和outputPath,从inputPath中读取文件内容(很明显,我们是读取App.svelte的内容),经过compile(content)后,把编译后的内容重新写到app.js中。
在package.json中添加命令"compile": "node svelte.js"
{
  "scripts": {
    "dev": "vite",
    "build": "vite build",
    "preview": "vite preview",
    "compile": "node svelte.js"
  },
}
我们先在compile方法中写个假的返回值测试下,根据main.js中的引用,很明显我们的方法需要返回一个对象,这个对象里有个create方法,用于最初的dom挂载。因此:
function compile(content) {
  return `
    export default function() {
      return {
        create(target) {
          const div = document.createElement('div');
          div.textContent = 'hello svelte';
          target.appendChild(div);
        }
      }
    }
  `;
}
现在我们执行npm run compile。如果你在npm run dev后一直没有关闭,那打开localhost:5173看看,希望你能看到如下:

我们的最终目的是,能把App.svelte的内容转成能够在浏览器上正常运行的js代码。
运行时方法
在阅读源码时,我们了解到Svelte代码中涉及了大量的dom操作,然而原生的操作dom的api过于冗长,Svelte对它们进行了简单的封装。这里我们也做同样的处理。
compile
修改我们的compile方法。
function compile(content) {
  return `
    function element(name) {
      return document.createElement(name);
    }

    function text(data) {
      return document.createTextNode(data);
    }

    function append(target, node) {
      target.appendChild(node);
    }

    function detach(node) {
      if (node.parentNode) {
        node.parentNode.removeChild(node);
      }
    }

    export function listen(node, event, handler) {
      node.addEventListener(event, handler);
      return () => node.removeEventListener(event, handler);
    }

    export default function() {
      return {
        create(target) {
          const div = document.createElement('div');
          div.textContent = 'hello svelte';
          target.appendChild(div);
        }
      }
    }
  `;
}
我们封装了createElement,createText, appendChild,removeChild,addEventListener和removeEventListener。
编译时方法
我们刚刚把编译后的代码写在了compile方法里,现在我们对其进行改造。
function compile(content) {
  const ast = parse(content); // 解析svelte文件内容成ast
  return generate(ast);
}

function parse(content) {
  const ast = {};
  return ast;
}

function generate(ast) {
  return `
    ···
    export default function() {}
  `;
}
然后把一大串字符串模板内容放到generate方法中。现在,compile方法的主要逻辑是:通过parse(content)解析出ast,然后通过ast数据generate出字符串模板内容。
parse
在parse方法中,我们定义一些基础方法,后续的解析会用到这些方法。
function parse(content) {
  let i = 0;
  const ast = {};
  return ast;

  function match(str) {
    return content.slice(i, i + str.length) === str;
  }

  function eat(str) {
    if (match(str)) {
      i += str.length;
    } else {
      throw new Error(`Parse error: expecting "${str}"`);
    }
  }

  function readWhileMatching(reg) {
    let startIndex = i;
    while(i < content.length && reg.test(content[i])) {
      i++;
    }
    return content.slice(startIndex, i);
  }

  function skipWhitespace() {
    readWhileMatching(/[\s\n]/);
  }
}
- match(str):接下来要解析的字符串是否等于str
- eat(str):如果匹配str成功,i索引更新
- readWhileMatching(reg):读取匹配reg格式的内容直到不匹配为止,同时i索引更新,返回读取成功的内容
- skipWhitespace:跳过空格
在下一章中,我们将继续实现parse和generate的内容。
小结
本章我们实现了:
- 框架的整体运行流程
- 辅助函数